Android NDK开发学习(二):学习官方Demo : HelloJni
Android NDK开发学习(三):创建第一个项目
1、首先新建一个Android项目。(不用细说了吧!)
2、项目右键····>Android Tools ·····> Add Native Support...
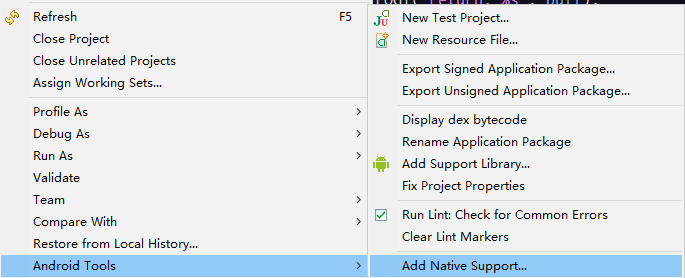
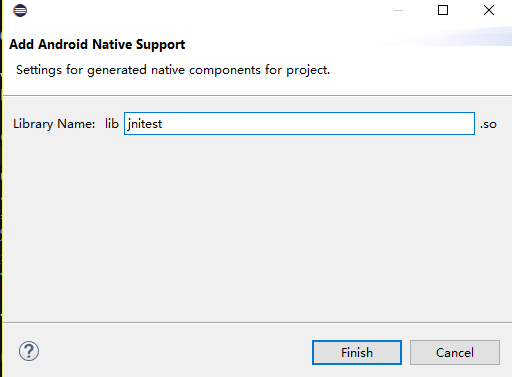
填写你要生成的so文件名。点击Finish。
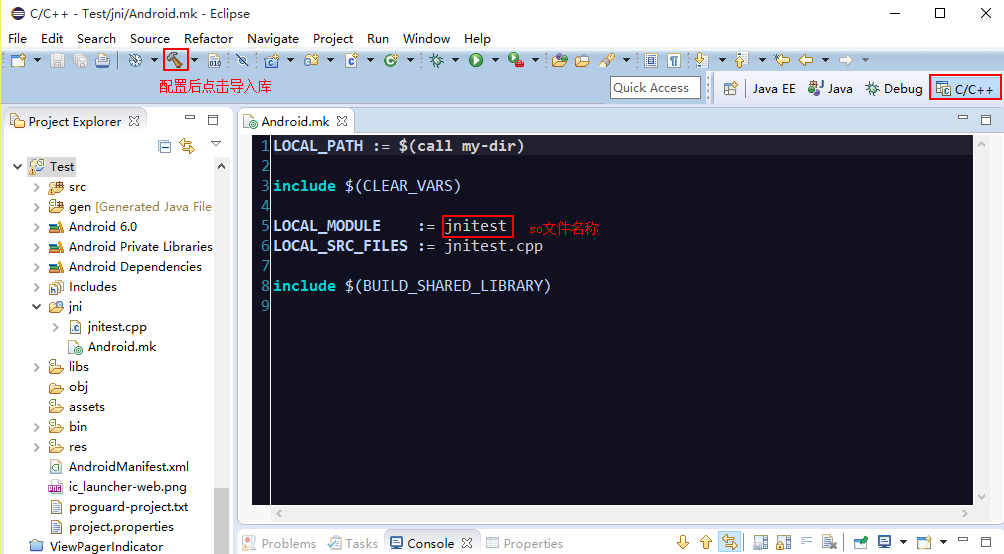
之后按照第二篇的配置方法进行配置,结果如图:
3、实现功能
这里测试一个很简单的功能,传入一个字符串,输出结果前拼接“Hello!”
(1).首先创建一个GetString类用于书写jni方法。
package com.example.jnitest;

public class GetString {

	public native String stringFromJNI(String string);

}
(2).MainActivity:调用jni方法
public class MainActivity extends Activity {

    @Override
    protected void onCreate(Bundle savedInstanceState) {
        super.onCreate(savedInstanceState);
        setContentView(R.layout.activity_main);
        TextView text1=(TextView) findViewById(R.id.text1);
        GetString string = new GetString();
        text1.setText(string.stringFromJNI("JNI"));
    }

    static {
        System.loadLibrary("JniTest");
    }
}
(3).生成头文件
这里方法很多,我介绍一种简单的。
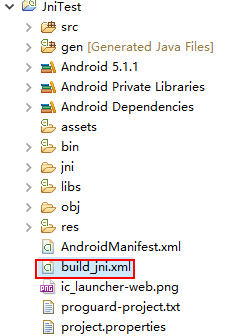
首先在项目根目录下创建一个xml文件。用Ant 编辑器打开。
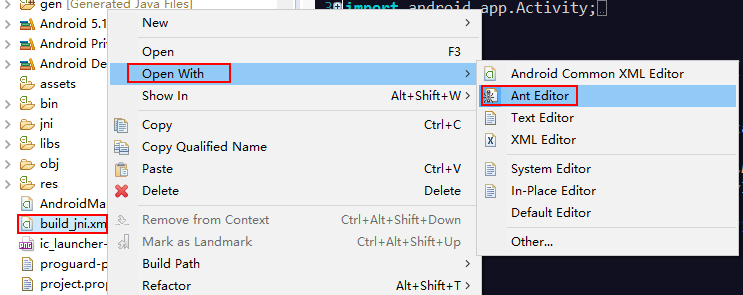
打开后Alt+/ 快捷键选择第一个。
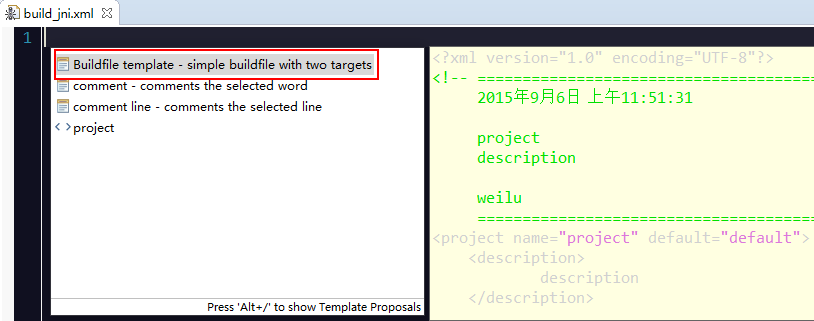
之后进行文件内容的填写:填写结果如下
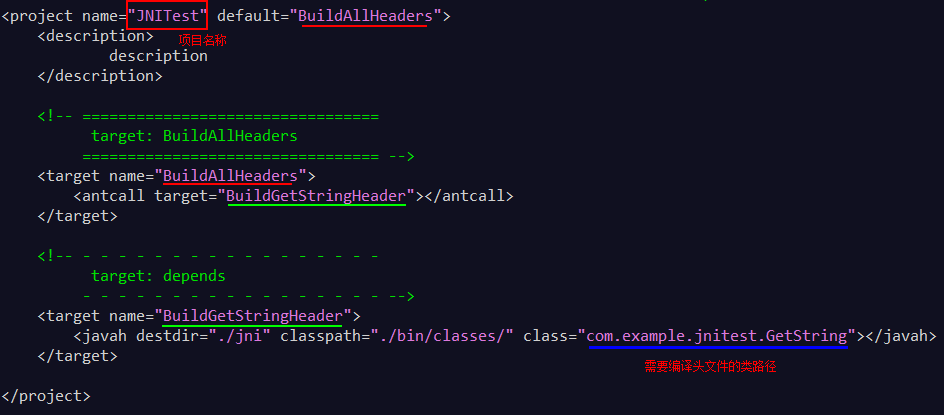
之后双击文件(如果没有这个Ant可以在Window ····> Show View中添加)

双击后刷新项目在jni中会多出这个文件
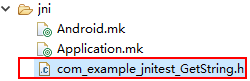
文件内容如下:
/* DO NOT EDIT THIS FILE - it is machine generated */
#include <jni.h>
/* Header for class com_example_jnitest_GetString */

#ifndef _Included_com_example_jnitest_GetString
#define _Included_com_example_jnitest_GetString
#ifdef __cplusplus
extern "C" {
#endif
/*
 * Class:     com_example_jnitest_GetString
 * Method:    stringFromJNI
 * Signature: (Ljava/lang/String;)Ljava/lang/String;
 */
JNIEXPORT jstring JNICALL Java_com_example_jnitest_GetString_stringFromJNI
  (JNIEnv *, jobject, jstring);

#ifdef __cplusplus
}
#endif
#endif
(4).编写.C文件
在jni中新建名为jnitest.c文件,内容如下:
<pre name="code" class="java">#include <jni.h>
#include <android/log.h>
#include <stdio.h>
#include <string.h>
#include <com_example_jnitest_GetString.h>

#define LOG_TAG "MYJNI"

#define LOGE(...)__android_log_print(ANDROID_LOG_ERROR, LOG_TAG, __VA_ARGS__)

jstring Java_com_example_jnitest_GetString_stringFromJNI(JNIEnv* env,
		jobject thiz, jstring j_str) {

	const char *c_str = NULL;

	char buff[128] = { 0 };
	jboolean isCopy;    // 返回JNI_TRUE表示原字符串的拷贝,返回JNI_FALSE表示返回原字符串的指针
	c_str = (*env)->GetStringUTFChars(env, j_str, &isCopy);    //访问字符串
	LOGE("%d", isCopy);    //1为true
	if (c_str == NULL) {
		return NULL ;
	}
	sprintf(buff, "Hello! %s", c_str);
	(*env)->ReleaseStringUTFChars(env, j_str, c_str);    //释放字符串
	LOGE("return: %s", buff);
	return (*env)->NewStringUTF(env, buff);    //创建字符串
}
最后修改Android.mk文件
LOCAL_PATH := $(call my-dir)

include $(CLEAR_VARS)

LOCAL_LDLIBS    := -lm -llog
LOCAL_MODULE    := JniTest
LOCAL_SRC_FILES := jnitest.c

include $(BUILD_SHARED_LIBRARY)
(5).结果: