
ThinkPHP学习(一) Windows下Nginx+PHP5+ThinkPHP_3.2.1的安装与配置
工具原料:
Nginx153:
网盘下载地址:http://pan.baidu.com/s/1qWNgLf2
php-5.3.28-nts-Win32-VC9-x86
网盘下载地址:http://pan.baidu.com/s/1pdukY
ThinkPHP_3.2.1
网盘下载地址:http://pan.baidu.com/s/1pJlpfuj
RunHiddenConsole 是一个用来隐藏 DOS窗口的小程序
网盘下载地址:http://pan.baidu.com/s/1gd7kApP
开始安装,其实就是解压文件:
解压Nginx到“F:Nginx153”;
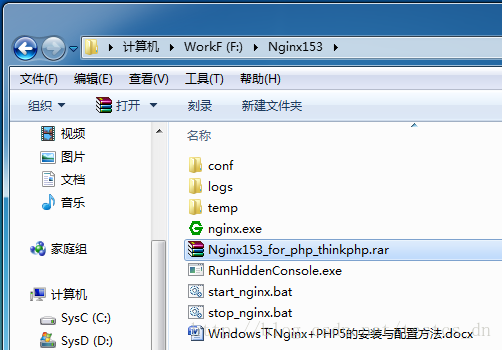
解压RunHiddenConsole到“F:Nginx153”;
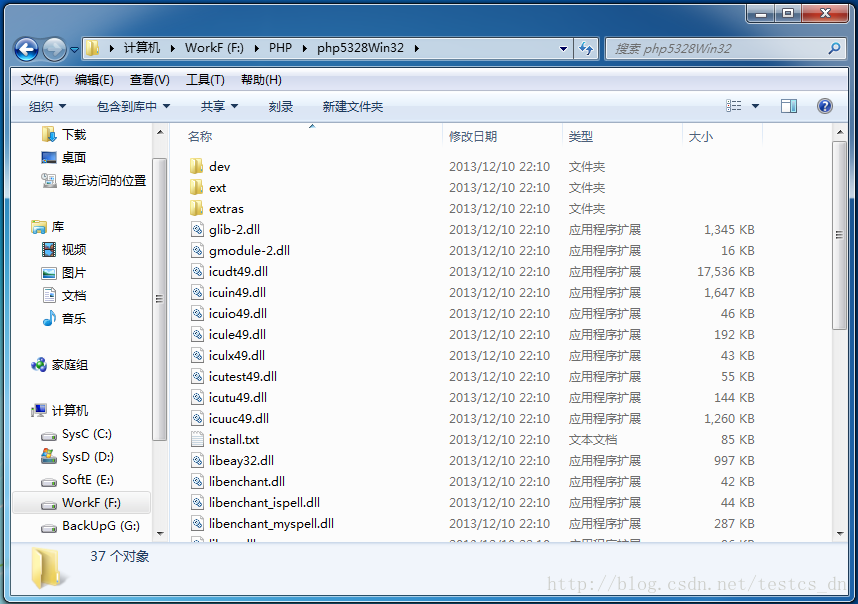
解压PHP5到“F:PHPphp5328Win32”;
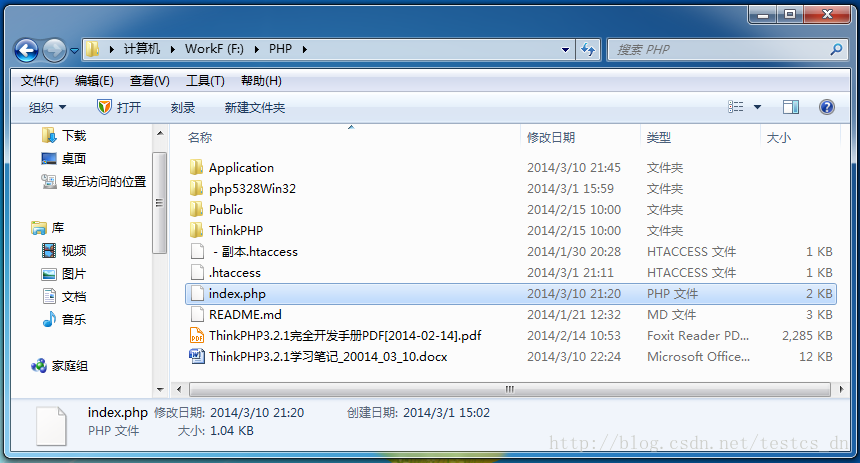
解压ThinkPHP到“F:PHP”;
修改PHP配置文件
修改“F:PHPphp5328Win32”目录下的文件“php.ini-development”的文件名,把“-development”去掉就可以,文件内容先不做任何修改。
修改Nginx配置文件
用文本编辑器,本人使用Notepad++打开“F:Nginx153conf”目录下的“Nginx.conf”文件,
配置文件内容如下,重点位置用中文简单注释了一下:
#user  nobody;
worker_processes  1;

#error_log  logs/error.log;
#error_log  logs/error.log  notice;
#error_log  logs/error.log  info;

#pid        logs/nginx.pid;

events {
    worker_connections  1024;
}

http {
    include       mime.types;
    default_type  application/octet-stream;

    #log_format  main  "$remote_addr - $remote_user [$time_local] "$request" "
    #                  "$status $body_bytes_sent "$http_referer" "
    #                  ""$http_user_agent" "$http_x_forwarded_for"";

    #access_log  logs/access.log  main;

    sendfile        on;
    #tcp_nopush     on;

    #keepalive_timeout  0;
    keepalive_timeout  65;

    #gzip  on;

    server {
        listen       80; #//端口号
        server_name  localhost; #//域名,主机头值

        #charset koi8-r;

        #access_log  logs/host.access.log  main;

        location / {
            root   F:\www\html; #//站点根目录
            index  index.html index.htm index.php; #//默认页
        }

        #error_page  404              /404.html;

        # redirect server error pages to the static page /50x.html
        #
        error_page   500 502 503 504  /50x.html;
        location = /50x.html {
            root   html;
        }

        # proxy the PHP scripts to Apache listening on 127.0.0.1:80
        #
        #location ~ .php$ {
        #    proxy_pass   http://127.0.0.1;
        #}

        # pass the PHP scripts to FastCGI server listening on 127.0.0.1:9000
        #
        #location ~ .php$ {
        #    root           F:\PHP;
        #    fastcgi_pass   127.0.0.1:9000;
        #    fastcgi_index  index.php;
        #    fastcgi_param  SCRIPT_FILENAME  /scripts$fastcgi_script_name;
        #    include        fastcgi_params;
        #}

		#ThinkPHP配置
		location ~ .*.php.* {
			root           F:\PHP; #//ThinkPHP框架文件位置
			fastcgi_pass	127.0.0.1:9000;
			fastcgi_index	index.php;
			include	fastcgi.conf;
			set	$real_script_name	$fastcgi_script_name;
			fastcgi_param	SCRIPT_FILENAME	$document_root$fastcgi_script_name;
			fastcgi_param	SCRIPT_NAME		$real_script_name;
			fastcgi_param	PATH_INFO		$path_info;
			if ($fastcgi_script_name ~ "^(.+?.php)(/.+)$") {
				set	$real_script_name	$1;
				set	$path_info	$2;
			}
		}

        # deny access to .htaccess files, if Apache"s document root
        # concurs with nginx"s one
        #
        #location ~ /.ht {
        #    deny  all;
        #}
    }


    # another virtual host using mix of IP-, name-, and port-based configuration
    #
    #server {
    #    listen       8000;
    #    listen       somename:8080;
    #    server_name  somename  alias  another.alias;

    #    location / {
    #        root   html;
    #        index  index.html index.htm;
    #    }
    #}


    # HTTPS server
    #
    #server {
    #    listen       443;
    #    server_name  localhost;

    #    ssl                  on;
    #    ssl_certificate      cert.pem;
    #    ssl_certificate_key  cert.key;

    #    ssl_session_timeout  5m;

    #    ssl_protocols  SSLv2 SSLv3 TLSv1;
    #    ssl_ciphers  HIGH:!aNULL:!MD5;
    #    ssl_prefer_server_ciphers   on;

    #    location / {
    #        root   html;
    #        index  index.html index.htm;
    #    }
    #}

}
fastcgi.conf的文件内容:
在“Nginx.conf”文件的目录下新建一个文本文件,然后重命名为“fastcgi.conf”,把以下内容粘贴进去,保存就可以了。fastcgi_param SCRIPT_FILENAME $document_root$fastcgi_script_name; fastcgi_param QUERY_STRING $query_string; fastcgi_param REQUEST_METHOD $request_method; fastcgi_param CONTENT_TYPE $content_type; fastcgi_param CONTENT_LENGTH $content_length; fastcgi_param SCRIPT_NAME $fastcgi_script_name; fastcgi_param REQUEST_URI $request_uri; fastcgi_param DOCUMENT_URI $document_uri; fastcgi_param DOCUMENT_ROOT $document_root; fastcgi_param SERVER_PROTOCOL $server_protocol; fastcgi_param HTTPS $https if_not_empty; fastcgi_param GATEWAY_INTERFACE CGI/1.1; fastcgi_param SERVER_SOFTWARE nginx/$nginx_version; fastcgi_param REMOTE_ADDR $remote_addr; fastcgi_param REMOTE_PORT $remote_port; fastcgi_param SERVER_ADDR $server_addr; fastcgi_param SERVER_PORT $server_port; fastcgi_param SERVER_NAME $server_name; # PHP only, required if PHP was built with --enable-force-cgi-redirect fastcgi_param REDIRECT_STATUS 200;
创建启动服务批处理(.bat)文件,文件名“start_nginx.bat”,文件内容如下:
@echo off
echo Starting PHP FastCGI...
RunHiddenConsole ../php/php5328Win32/php-cgi.exe -b 127.0.0.1:9000 -c ../php/php5328Win32/php.ini
echo Starting nginx...
nginx.exe

pause
创建停止服务批处理(.bat)文件,文件名“stop_nginx.bat”,文件内容如下:
@echo off
echo Stopping nginx...
taskkill /F /IM nginx.exe > nul
echo Stopping PHP FastCGI...
taskkill /F /IM php-cgi.exe > nul
exit
见证奇迹的时刻:
双击“start_nginx.bat”启动服务,会打开一个DOS窗口,最小化或关闭即可;
打开浏览器,在地址栏输入“http://localhost/index.php”,回车,看到几个大字了吗?
欢迎使用 ThinkPHP!
恭喜你,环境配置成功了!
下一篇:ThinkPHP学习(二)理清ThinkPHP的目录结构及访问规则,创建第一个控制器
声明:该文观点仅代表作者本人,入门客AI创业平台信息发布平台仅提供信息存储空间服务,如有疑问请联系rumenke@qq.com。
- 上一篇: Java使用HttpClient的HttpGet获取网页内容
- 下一篇: Java方法的可变参数个数